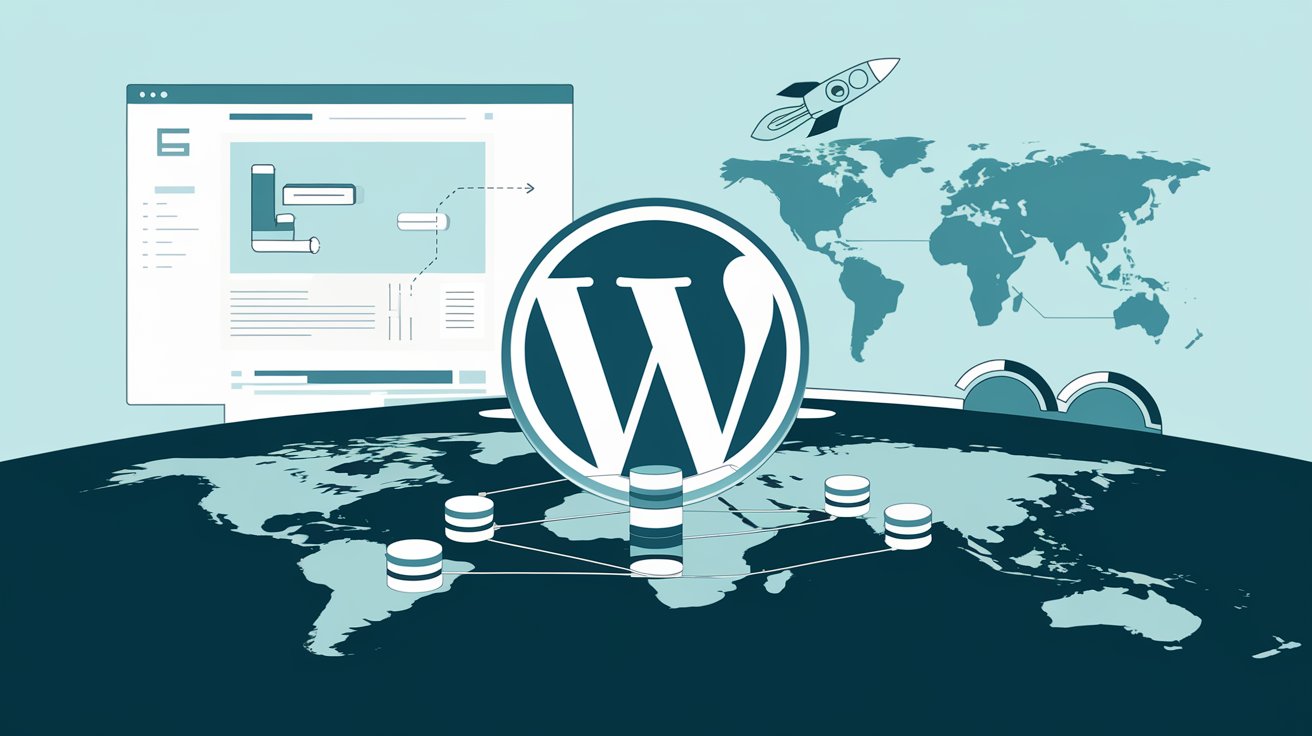
Being an open source platform, WordPress websites require efficient loading speed and generally good user experience on the site. Another powerful solution we suggest to make your site perform better is a Content Delivery Network or CDN. If you have a WordPress website, CDN integration can boost your website speed substantially, minimize latency and help you provide the user experience across the world. In this tutorial, you’ll learn specific ways you can make the most of your CDN in WordPress to boost operation.

What is CDN in WordPress?
A CDN stands for a content delivery network and is a practice of distributing servers in different parts of the world. These servers are designed to store and serve your website’s static content including: images, CSS, JavaScripts, and videos from the nearest server to the visitor thereby minimizing download time.
Unlike, a server where all the content is made central, a CDN has multiple centers distributed worldwide that stores copies of your content. To access the information, the visitor addresses the CDN server that provides the content from the closest point which leads to enhanced performance.
Benefits of Using CDN in WordPress
Using a CDN in WordPress offers numerous advantages, especially for websites that have visitors from different parts of the world:
Improved Website Speed: By serving content from the nearest server, load times are significantly reduced. Faster load times are critical for enhancing user experience and reducing bounce rates.
Reduced Bandwidth Costs: CDNs offload traffic from your main hosting server, reducing bandwidth consumption and potentially lowering hosting costs.
Enhanced Security: Many CDNs come with security features such as DDoS protection and firewall services, which provide an extra layer of security for your website.
Better SEO: Search engines like Google prioritize websites with faster load times. A CDN helps improve your site speed, which can positively impact your search engine rankings.
Global Reach: If your website has a global audience, a CDN ensures that your content loads quickly no matter where your visitors are located.
How to Set Up a CDN in WordPress
Setting up a CDN in WordPress is a straightforward process that can significantly improve your website’s performance. Follow these steps to get started:
Step 1: Choose a CDN Provider
The first step is to choose the best CDN provider. Here are some of the top CDN services for WordPress:
Cloudflare
Cloudflare is one of the biggest CDN service providers in the world. It provides an independent package with the basic functionality including DDoS security, SSL encipherment, and caching around the world. Of course, it is best for small to a medium-sized website, though it is considerably useful even for larger ones.

MaxCDN (now StackPath)
MaxCDN is now known as StackPath and the company promises fast content delivery with an emphasis on security. Low latency and edge locations make it ideal foe websites or applications that use lots of media content.
KeyCDN
KeyCDN is an affordable and user-friendly CDN with global coverage. Main features of KeyCDN are its cheap price, simplicity, and availability in almost any country in the world. It supports HTTP/2 and image optimization and provides real time analytics; making it ideal for developers in terms of integration.
Amazon CloudFront
AWS CloudFront is an effective CDN service planned and provided by Amazon which has the ability to direct large amounts of traffic scalably. It is suitable for use both in the large and complex enterprise websites and in simple websites of small enterprises. Another feature which makes CloudFront uniquely suitable for AWS applications is that it is highly integrated with the other services.
BunnyCDN
The BunnyCDN is well recognized for its speed and the bare minimum price. It has edge servers in many places globally, providing quick content delivery and real-time statistics; therefore, ideal for growing website.

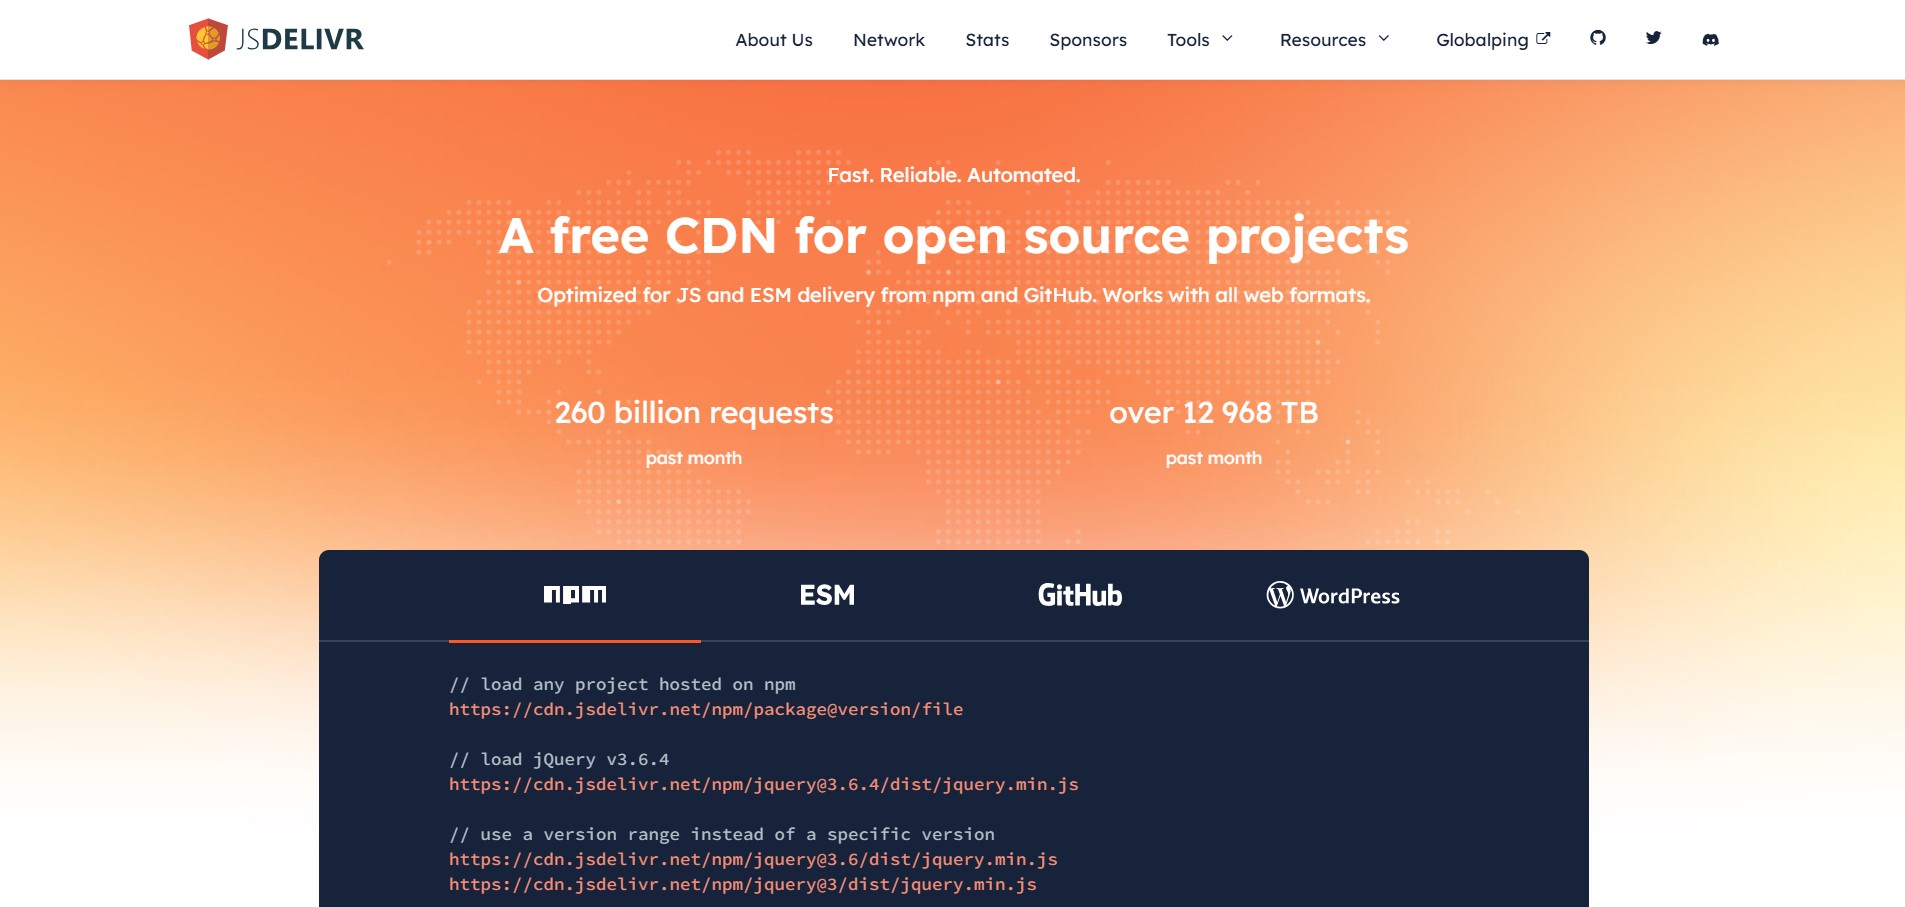
jsDelivr
jsDelivr is a free CDN developed especially for developers. It is particularly good for delivering Java scripts, CSS and images, and is supported by Cloudflare and other premier CDNs for the open source projects.
Step 2: Install a CDN Plugin for WordPress
To connect your CDN to WordPress, you’ll need a plugin that integrates the CDN service with your WordPress installation. Popular CDN plugins include:
- W3 Total Cache
- WP Rocket
- CDN Enabler
- jsDeliver
After choosing your plugin, install and activate it from the WordPress dashboard.
Step 3: Configure the CDN Settings
If correctly downloaded the plugin then to configure the settings of it, the CDN provider will give you instructions on how to set up them in the WordPress dashboard. In most cases, to enable a CDN, you’ll need to enter your CDN URL (Which is furnished by your CDN provider) apart from identifying the type of content such as images, JavaScripts, CSS that should be delivered through the CDN.
Step 4: Test the Setup
Its equally important once you have configured everything to actually run some tests to establish that the CDN is properly serving content on your website. Typical CDN may include options to use one or another in order to confirm that all assets such as images or CSS/JavaScript files are served via CDN.
Also read: How to Add FAQ Schema in WordPress Elementor
Setting jsDelivr CDN in WordPress
To install it, especially if using jsDelivr you want the auto installation, WordPress website owners are in for a treat. Here’s how to do it step-by-step:
Step 1: Install the jsDelivr Plugin
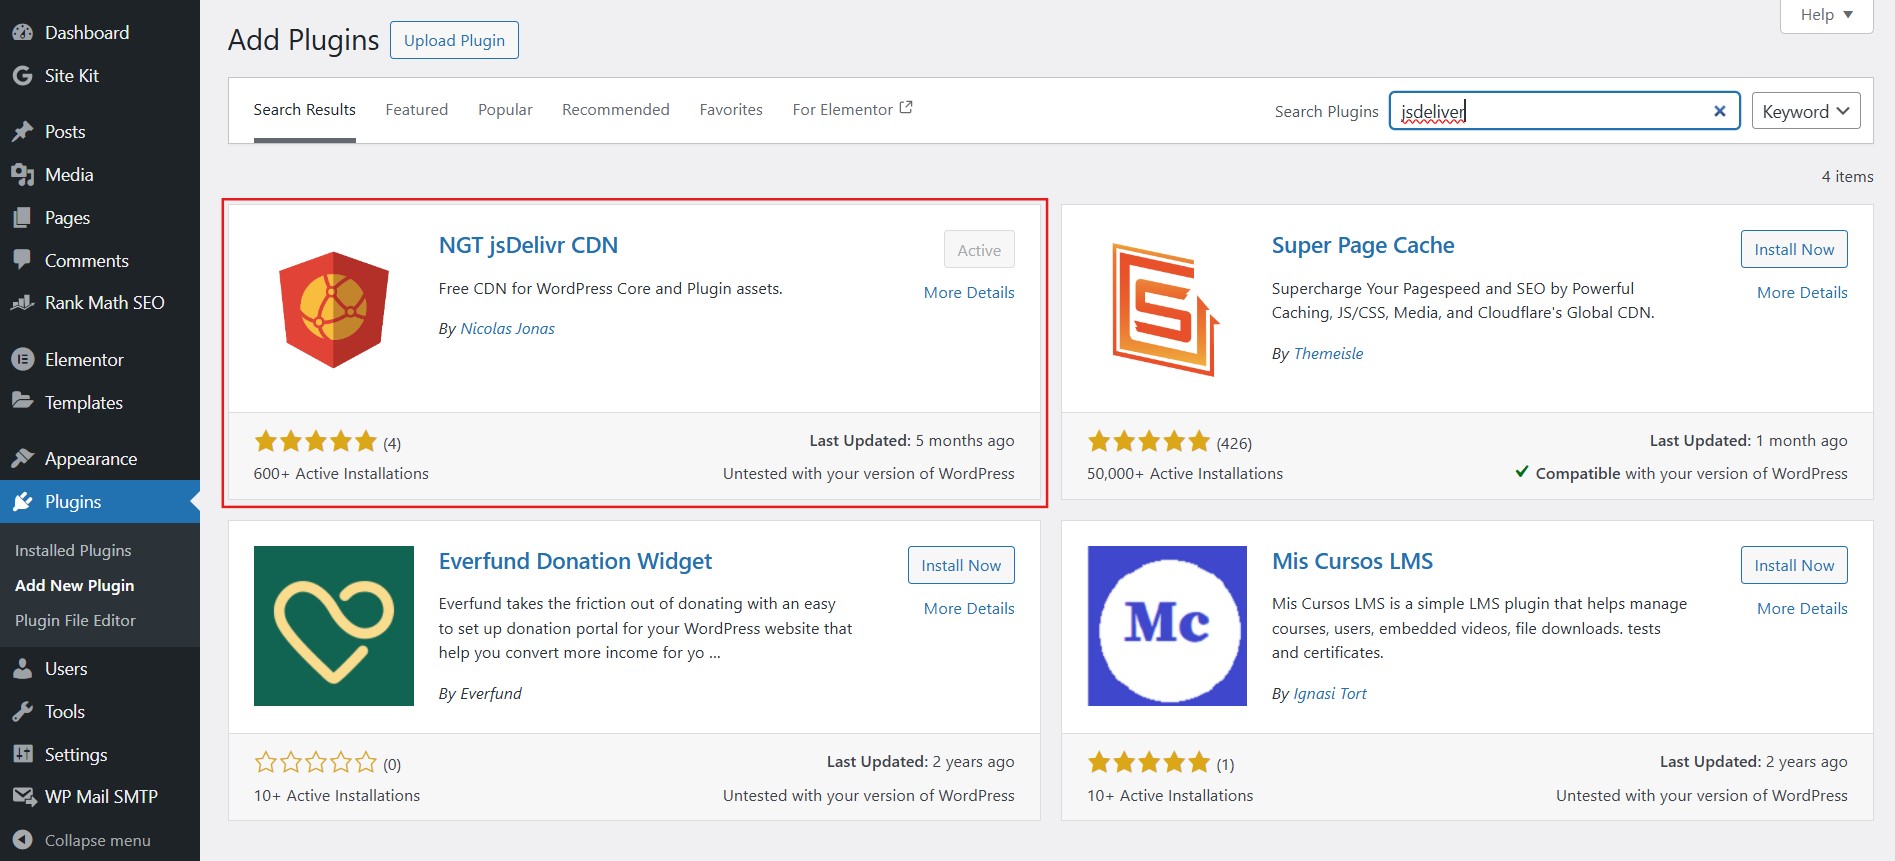
The first step is to simply sign in to your WordPress admin panel. It is as simple as going to the Plugins option and clicking on Add New and searching for the word “jsDelivr. When you get to the plugin, click on install now then activate whenever you want it to work on your website.
Step 2: Automatic CDN Setup
The jsDelvir plugin does this for you by handling your CDN needs. Upon installation and launching, it will integrate your website to the jsDelvig CDN onclick without any additional configuration. What this means is that the distribution of your assets like images, CSS and JavaScript will begin to happen from jsDelvir’s CDN servers across the world – making it faster for users wherever they maybe.
Step 3: Check Your CDN Integration
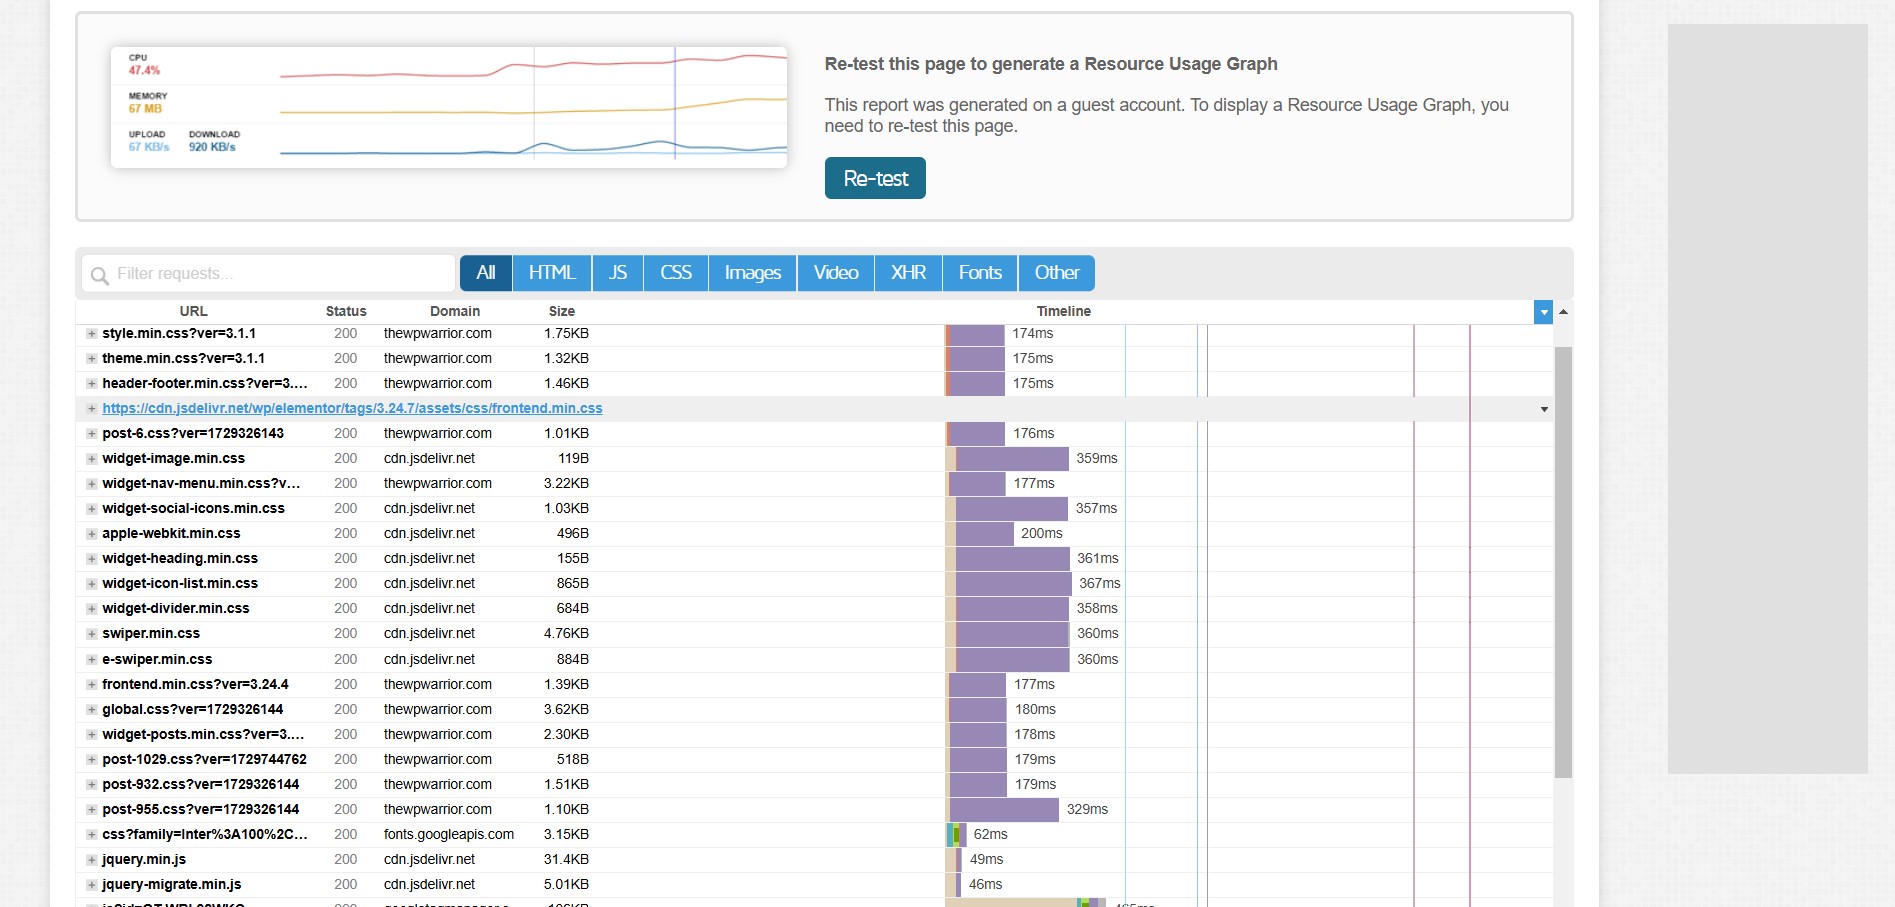
Once the plugin is installed, still go to your website and right click the browser to check the source and ensure that all static assets are loaded through jsDelivr CDN. You can also use the GTmetrix or Pingdom in order to ensure that particular content is being loaded from jsDelivr CDN.
Best Practices for Using CDN in WordPress
To get the most out of your CDN integration, follow these best practices:
Enable Caching: Ensure that your website’s cache is working alongside the CDN for optimal performance.
Monitor CDN Performance: Use monitoring tools to regularly check your CDN’s performance and uptime to avoid potential issues.
Optimize Images: Before uploading images to your WordPress site, compress and optimize them to reduce load times further, even when using a CDN.
Use HTTP/2 or QUIC: CDNs that support modern protocols like HTTP/2 or QUIC deliver content faster, enhancing performance.
Enable HTTPS: Secure your website by using SSL/TLS encryption through the CDN. Most CDNs, like Cloudflare, offer free SSL certificates.
Common CDN Troubleshooting Tips
Even with a CDN, issues can arise. Here are some common CDN problems and how to fix them:
CDN Not Serving Files: If your CDN isn’t serving files, check if the URLs of your static assets point to the CDN. You may need to clear your site’s cache or adjust your CDN configuration settings.
Mixed Content Errors: If your site has SSL enabled, ensure that your CDN also supports SSL. Mixed content errors occur when secure and non-secure content is loaded simultaneously.
Slow CDN Performance: If your CDN isn’t speeding up your site, review your configuration settings, or consider switching to a CDN provider with better performance for your region.
FAQs About How to Use CDN in WordPress
CDN in WordPress means a system of servers located all over the world that deliver your website content to end-users as fast as possible.
Integrating a CDN with your WordPress makes your site faster, saves bandwidth, increases security, and gets a better search engine ranking, which makes it crucial to performance enhancement.
The way that most people use to establish CDN on WordPress is as follow: select the CDN provider, the installation of CDN plugin and setting up of CDN and testing to confirm it is functional.
Yes, that is correct; using a CDN has benefits for SEO since website have contained page loading times which is an SEO-factor.
Conclusion
Integrating CDNs in WordPress geektech.uk can significantly boost your website’s performance, especially if you have a global audience. CDNs make it easier for visitors to access your content quickly, no matter where they are located. By following the steps outlined in this guide, you’ll have your CDN set up in no time, reaping the benefits of faster load times, reduced server load, and enhanced security. Ensure to follow best practices and regularly monitor performance to get the most out of your CDN investment.

